
A Two-Part Beginner's Guide to Off- Camera Flash, using speed lights for nature photography

I have written this post around the Godox IT32 speed lights and Godox X5S triggers that I personally use- All makes of Speed light and there relevant triggers work using very similar settings and flash in general works universally with the same rules and principals
Part one covers these basic set ups, rules and the general principals involved , Part two is the more practical use of flash-, and at a slightly later date , a part three( not yet written) will be set around actual in the field use and actual set ups I have in use, this will be a more “this is how I set up and these are the resulting images”
How to sync, position, and power multiple Godox iT32 flashes — from your first setup to a fully weatherproofed nighttime wildlife camera trap.
Part one
Off-camera flash can feel like a whole new world if you’ve only ever used the built-in or on-camera flash. It’s not just about turning a light on any more. Instead, you’re working with multiple flashes, wireless triggers, and settings that let you control light like a pro. I’ve written this guide based on my experience with the Godox iT32 speed lights and Godox X5S triggers, but the principles apply to most speed lights and triggers out there.
This post is the first part of a series. Here, I’ll cover the basics: syncing your gear, positioning your flashes, and understanding the core rules of off-camera flash. Part two will dive into practical use, especially for wildlife camera trapping, and a third part will come later with real-world setups and images. And should give you a good grounding in using your speed lights for nature photography
Getting Started with Syncing, Positioning and using Your speed lights and Flashes for nature photography
If you want to fire two or three flashes wirelessly and light a subject like a pro, you need to understand how to sync your gear and position your lights. Don’t worry if you have no prior flash experience. I’ll walk you through it step-by-step.
Why You Can’t Just Turn the Flash On
When you use a flash mounted on your camera, it fires automatically when you take a picture. Off-camera flash is different. You have several flashes placed around your subject, and your camera needs a way to tell all those flashes when to fire and at what brightness.
This is where the Godox X5S trigger and Godox iT32 flashes come in. The X5S is a small radio transmitter that sits on your camera’s hot shoe. The iT32 flashes are the lights themselves. The trigger sends signals to the flashes telling them when to fire.
A key point is that the X5S trigger has no screen. It’s basically a radio antenna. You program every setting — channel, group, power — on the touchscreen of an iT32 flash. The trigger remembers those settings and sends them out.
Step 1: Sync the Trigger Before You Do Anything Else
This is the most important step. You must sync your trigger and flashes before you move your lights away from the camera. Think of it as introducing your trigger to your flashes so they all agree to listen on the same radio channel.
Mount the Godox X5S trigger on your camera’s hot shoe.
Magnetically clip one Godox iT32 flash directly onto the trigger. Turn both on.
On the iT32’s touchscreen, swipe down from the top edge to open the menu.
Tap the wireless settings icon (it looks like a small “f” symbol).
Set a channel, for example, CH 07. This is like a radio frequency to avoid interference.
Set the ID to OFF. Only change this if you’re shooting in a crowded place with other Godox users.
Pull the iT32 flash off the trigger while both stay powered on. The trigger keeps the settings, and the flash switches to Radio Receiver Mode, meaning it listens for the signal instead of sending one.
Two Ways to Build Your Kit: Two Lights or Three Lights
How many flashes you have will decide your setup.
Layout 1 — The Two-Light Setup
Camera + X5S trigger on hot shoe (Channel 07, ID OFF)
iT32 Flash 1 — Key Light, Group A, Channel 07, ID OFF
iT32 Flash 2 — Fill or Rim Light, Group B, Channel 07, ID OFF
Both flashes go off-camera. The X5S trigger stays on the camera as a remote. Setting the flashes to different groups lets you control their brightness independently from the trigger.
Layout 2 — The Three-Light Setup
Camera + X5S + iT32 Flash (Group M, Master, Channel 07, ID OFF)
iT32 Flash 2 — Key Light, Group A, Channel 07, ID OFF
iT32 Flash 3 — Rim or Back Light, Group B, Channel 07, ID OFF
One flash stays on the camera as the master and can also act as an on-camera fill light. The other two flashes go off-camera. If you want three fully off-camera lights, you’ll need a fourth flash or a dedicated transmitter.
Quick Fixes if Something Won’t Fire
Check the receiver flash’s screen for the wireless receiver layout. Look for concave half-circles or an orange “RX” indicator.
Make sure no off-camera flash has a numbered ID (like 01) while the master is set to OFF. A mismatch here will block firing silently.

Understanding TTL and Manual Modes for Flash Brightness
Once your flashes are grouped and synced, you decide how to control their brightness. Godox lets you mix modes across groups, so you don’t have to pick just one.
Manual (M) Mode
In manual mode, you set an exact power level for each flash. This can range from full power (1/1) down to very low power (1/128 or less). This mode gives you full control over how bright each light is.
Manual mode is great when you want consistent lighting and don’t want the camera to adjust the flash power automatically. It’s especially useful in studio or portrait work where you control every aspect of the light.
TTL Mode
TTL stands for “Through The Lens.” In this mode, the camera measures the light coming through the lens and adjusts the flash power automatically for a balanced exposure.
TTL is handy when you’re moving around or shooting in changing light conditions. It lets you focus on composition while the camera handles flash power.
Positioning Your Flashes Like a Pro
Where you place your flashes makes a big difference in the look of your photos. Here are some basic tips for studio and portrait lighting setups.
Key Light: This is your main light. Place it at about 45 degrees to the side of your subject and slightly above eye level. This creates natural shadows and depth.
Fill Light: This light softens shadows created by the key light. Place it opposite the key light but at lower power.
Rim or Back Light: This light separates your subject from the background. Place it behind your subject, aimed at their back or hair.
With two flashes, you’ll usually have a key and fill light. With three, you add the rim light for more dimension.

Wrapping Up Part One
Getting your off-camera flash setup right starts with syncing your trigger and flashes, choosing your layout, and understanding how to control flash power. The Godox X5S trigger and iT32 flashes make this process straightforward once you know the steps.
In the next part, I’ll show you how to use these basics in the field, especially for wildlife camera trapping. You’ll see how to sync, position, and power multiple flashes for nighttime shots that reveal the natural world in stunning detail.
If you want to explore the gear I use, check out the Godox iT32 speed light and the Godox X5S trigger. They’re reliable, easy to use, and work well for both studio and outdoor photography.
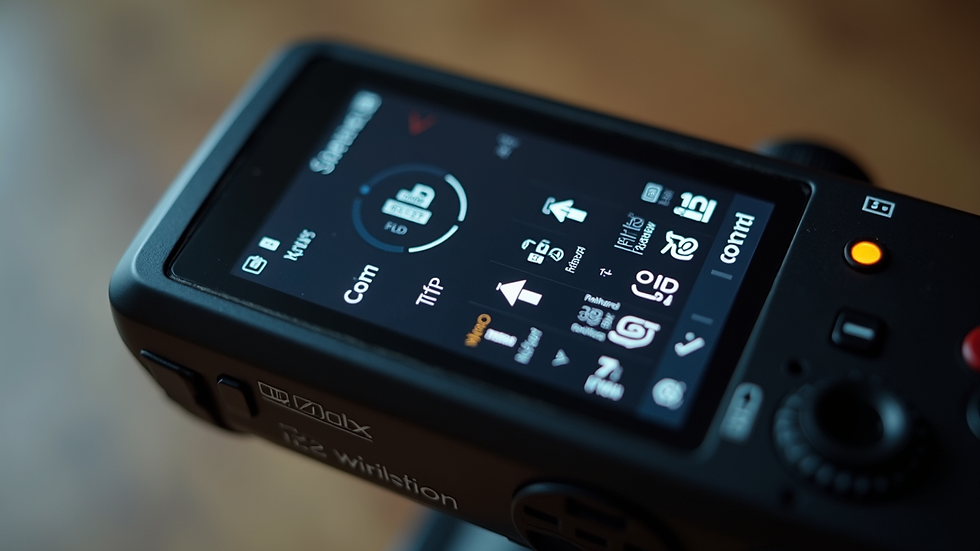
Off-camera flash opens up new creative possibilities. Once you master syncing and positioning, you’ll be ready to light your subjects with precision and style. Stay tuned for part two, where we’ll put these basics into action in the wild.


Comments